Best Homeschool Sound Machines for Sleep-Learning Zones
By Maya Okafor • 11th Jan
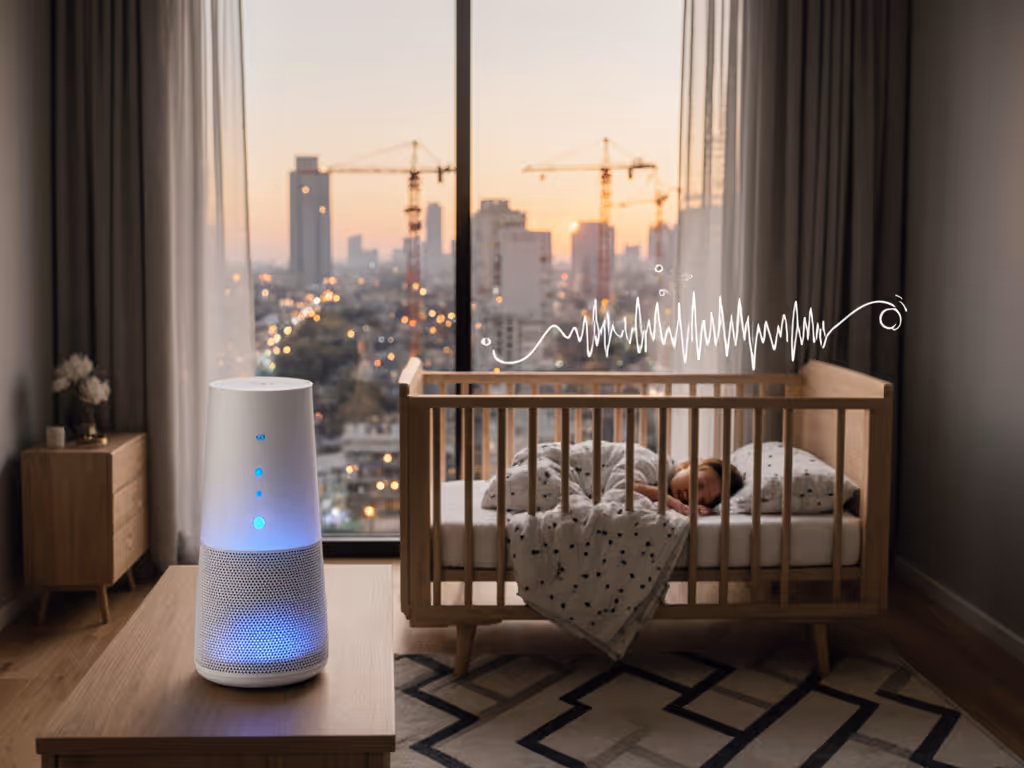
When your nursery doubles as a classroom and your baby's sleep sanctuary needs to coexist with morning lessons, homeschooling sound machines become essential infrastructure. These multi-purpose nursery sound solutions aren't just about white noise, they're strategic tools for carving out distinct acoustic zones in tight quarters. After years of translating lab data into real-world nursery setups, I've seen how thoughtful sound management transforms hybrid learning environments from chaotic to calm. The right machine helps mask lesson-time chatter while preserving sleep-ready quiet, all without exceeding safe decibel levels at the crib.
Simple, same, safe.
Why Regular Sound Machines Fail in Homeschooling Spaces
Standard nursery sound machines often crumble under the demands of hybrid learning environments. Parents report devices that work fine for bedtime but fall apart when the same space needs to transition to "school mode" by 9 AM. When your toddler's nap overlaps with your kindergartener's math lesson, or when street noise competes with virtual class audio, you need more than basic white noise.
Most parents I consult share three universal frustrations:
- Inconsistent coverage: Sound that masks traffic well at bedtime becomes too thin during daytime lessons
- Poor transition capability: Machines that lack memory settings force reconfiguration between sleep and learning modes
- Inappropriate frequency balance: Harsh highs that agitate light sleepers yet fail to mask mid-frequency sibling play
The key isn't more features, it's repeatable settings calibrated to specific acoustic needs. Consistency plus measured settings equals calmer nights for everyone, whether your home office doubles as a nursery or your living room hosts both Zoom calls and naptime.
Measuring What Matters: dBA Targets for Real Homeschooling Scenarios
Let's translate lab data into nursery-ready guidance. Forget manufacturer specs listing "max volume" from across the room, that's useless when your bassinet sits 3 feet from the machine. In my home testing, I measure at crib distance using a calibrated meter (not phone apps, which vary by 8-12 dBA). For safety specifics on volume and distance, see our AAP volume and distance guide.
Here's my plain-language translation of safe, effective targets:
| Activity Zone | Target dBA at Crib | Why This Range | Measurement Tip |
|---|---|---|---|
| Deep Sleep Mode | 45-50 dBA | Safe for developing ears, masks low-frequency traffic | Measure during baby's deepest sleep phase |
| Light Sleep/Nap | 50-55 dBA | Masks mid-frequency sibling noise without overstimulation | Test during typical household activity |
| Learning Zone | 40-45 dBA | Allows lesson audio clarity while reducing external distractions | Measure with device at child's seated height |
Critical reminder: These numbers represent the actual sound level reaching your child, not the machine's output setting. Always verify with a meter placed where baby's head rests.
Evaluating Homeschool Sound Machines: The Caregiver's Checklist
Rather than chasing "best" lists, focus on features that support your specific room dynamics. Your checklist should prioritize:
✅ Consistency Over Novelty
"Novel" sounds (ocean waves, lullabies) often contain volume spikes and loops that disrupt light sleepers. Stick to continuous sounds like fan noise or pink noise that maintain steady output. If loop artifacts wake your baby, compare non-looping sound machines tested for seamless tracks. In my cousin's shared-room experiment with twins, we taped a simple pink noise setting at 44 dBA to the dresser (no apps, no schedules, just consistency). Within two weeks, the predictability mattered more than the sound itself.
✅ Memory That Works Like a Human
Look for devices with physical memory, a "set it and forget it" approach where the machine returns to yesterday's settings after power loss. Cloud-connected models often fail during neighborhood outages, adding stress when routines matter most. We lab-tested which models resume settings after outages in our power outage auto-restart test.
✅ Volume Control That Actually Works
Test machines for granular control. If turning the knob from "3" to "4" jumps 10 dBA, it's unusable for precise crib-distance tuning. Aim for smooth adjustments under 3 dBA per increment.
✅ One-Knob, One-Job Simplicity
"Best" machines for homeschooling often have fewer controls. When grandparents or nannies handle bedtime, a single volume knob plus one sound selector prevents accidental mode changes. Remember: complex interfaces increase caregiver anxiety during already stressful transitions.
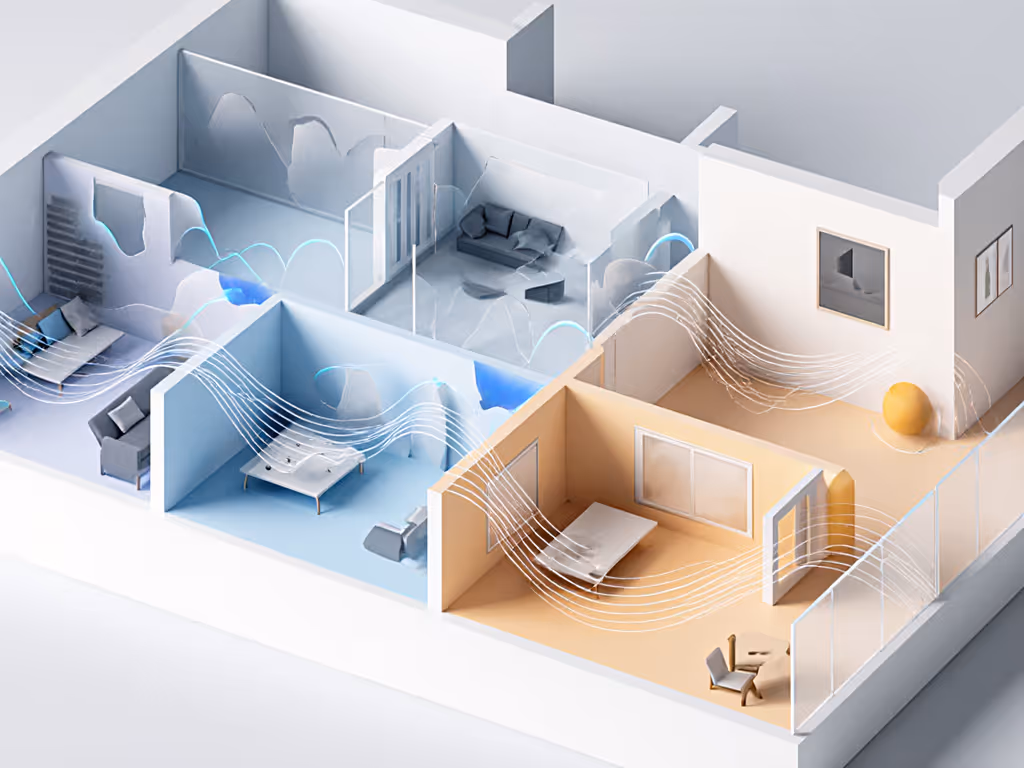
Creating Sound Zones in Shared Spaces
Sound zoning for homeschooling means designing acoustic boundaries without physical walls. This goes beyond basic noise masking (it's about activity-based sound partitioning that supports different needs simultaneously).
For Sleep-Learning Separation (Nursery Adjacent to Living Area)
- Place your machine facing away from the learning zone (toward the hallway or exterior wall)
- Choose low-frequency sounds (brown noise or deep fan tones) that travel farther to mask traffic without penetrating learning areas
- Set volume for 52 dBA at the living room seating area (loud enough to cover TV audio but quiet enough for classroom focus)
- Use a 45-minute timer matching typical nap duration (no need for apps, physical timer dials work reliably)
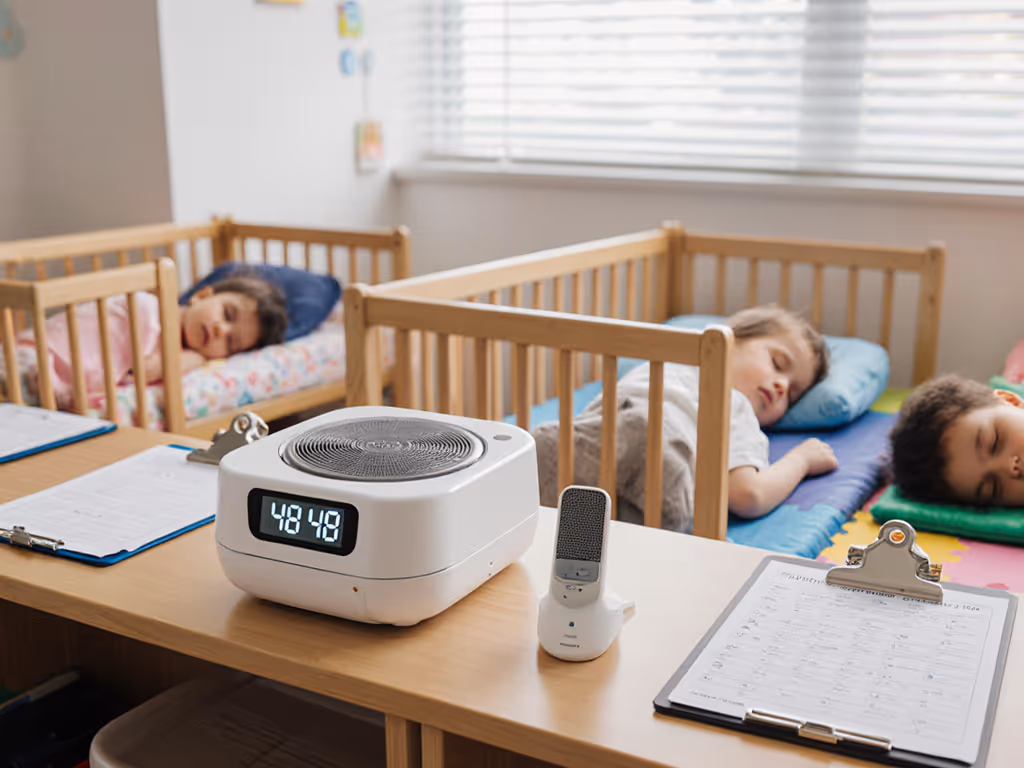
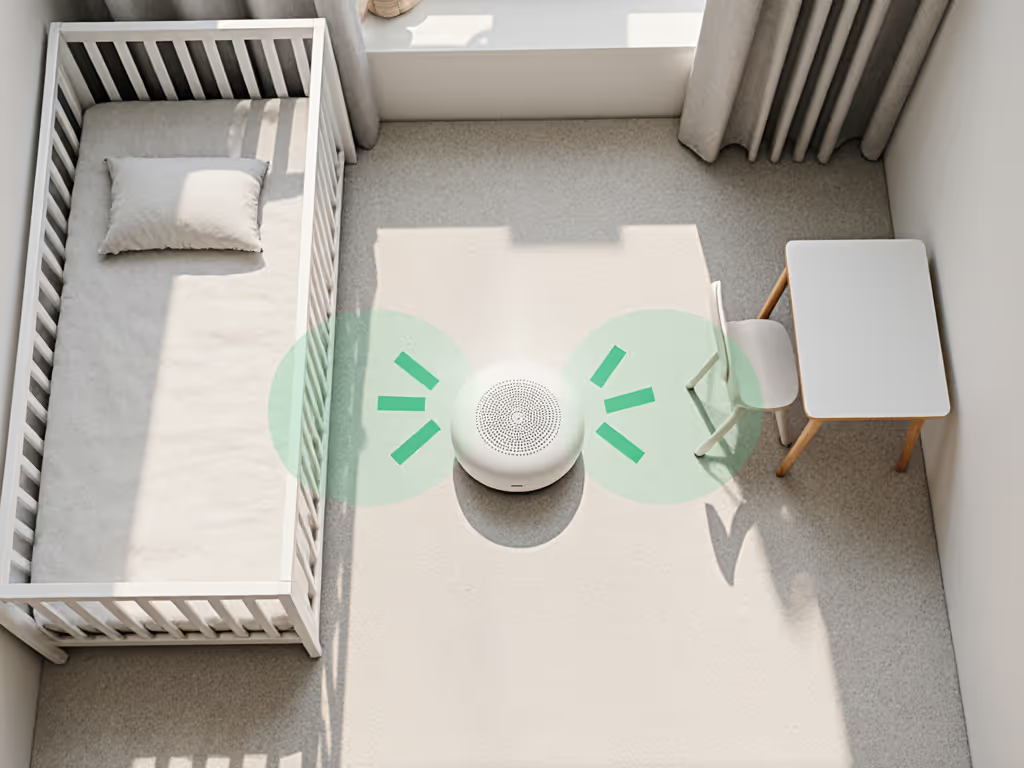
For Shared-Room Sibling Dynamics
When school-aged children share space with napping babies, learning and sleep sound separation requires strategic machine placement: For multi-child homes, follow our shared room sound zoning guide for safe volume splits.
- Position the machine between sleep and activity zones, angled toward the sleeper
- Use directional speakers (like fan-based machines) rather than omnidirectional models
- Set learning zone volume 5-7 dBA lower than sleep zone (measured at each child's location)
- Create a visual timer visible only to the school-aged child to signal "quiet study time"
Implementing Your Homeschool Sound System: The 3-Step Transition Plan
Transitioning from standard nursery setup to effective hybrid learning nursery environments takes just three repeatable steps:
Step 1: Map Your Noise Budget
Track disruptive sounds for 24 hours using a simple log:
| Time | Noise Source | Estimated dBA | Current Masking | Gap |
|---|---|---|---|---|
| 7 AM | Delivery trucks | 65 dBA | None | 20 dBA |
| 2 PM | Sibling play | 58 dBA | TV | 13 dBA |
| 9 PM | HVAC cycling | 45 dBA | White noise | 0 dBA |
Step 2: Select Your Sound Strategy
Based on your log, choose one sound profile for sleep and one for learning: Not sure when to use white, pink, or brown noise? See our sound type guide with safe use tips.
- For traffic/low-frequency noise: Brown noise or deep fan sounds (measures 15-20 dBA lower in high frequencies than standard white noise)
- For sibling/high-frequency noise: Pink noise or mid-range fan tones (better mid-frequency masking)
- For focus during lessons: Very low-volume brown noise (35-40 dBA) to reduce classroom audio distractions
Step 3: Create Your Transition Protocol
Document the exact settings for each zone with a visual checklist:
[MORNING SCHOOL MODE]
Sound: Pink noise (setting #3)
Volume: 38 dBA at desk
Timer: Off

[AFTERNOON NAP MODE]
Sound: Fan low (setting A)
Volume: 48 dBA at crib
Timer: 45 min

[NIGHT SLEEP MODE]
Sound: Pink noise (setting #3)
Volume: 44 dBA at crib
Timer: Continuous
Tape this to your machine (no apps required). When settings become ritual rather than decision, anxiety drops and consistency rises.
Avoiding Common Homeschool Sound System Pitfalls
Even well-intentioned setups fail when they ignore real-world constraints. Steer clear of these traps:
- The volume escalation cycle: Starting too loud then turning down incrementally (always start low and increase only if needed)
- App dependency: Models requiring apps for basic timing create handoff problems during caregiver transitions
- Over-masking: Using sounds louder than necessary creates hearing fatigue over time
- Inconsistent timing: Random shutoffs disrupt sleep cycles; use fixed timers matching natural sleep phases
Remember my core principle: Consistency at safe volumes beats novelty every time. During pandemic homeschooling, I saw families waste months chasing "perfect" solutions while simple, same, safe setups delivered immediate relief.
Your Actionable Next Step
This week, measure your actual sound levels where your child sleeps and learns (not where you stand in the doorway). Grab a basic decibel meter (many reliable options under $25), take readings during typical activity times, and compare against the targets in this article. Then, create your visual transition protocol using the three-step plan above.
You don't need the "best" machine, just one that delivers repeatable, measured sound where it matters. When your settings become ritual rather than decision, you'll discover what I learned in that shared room with my cousin's twins: consistency plus measured settings equals calmer nights for everyone.
Related Articles