Sound Machine Sleep Training: Safe Setup Steps
By Maya Okafor • 3rd Oct
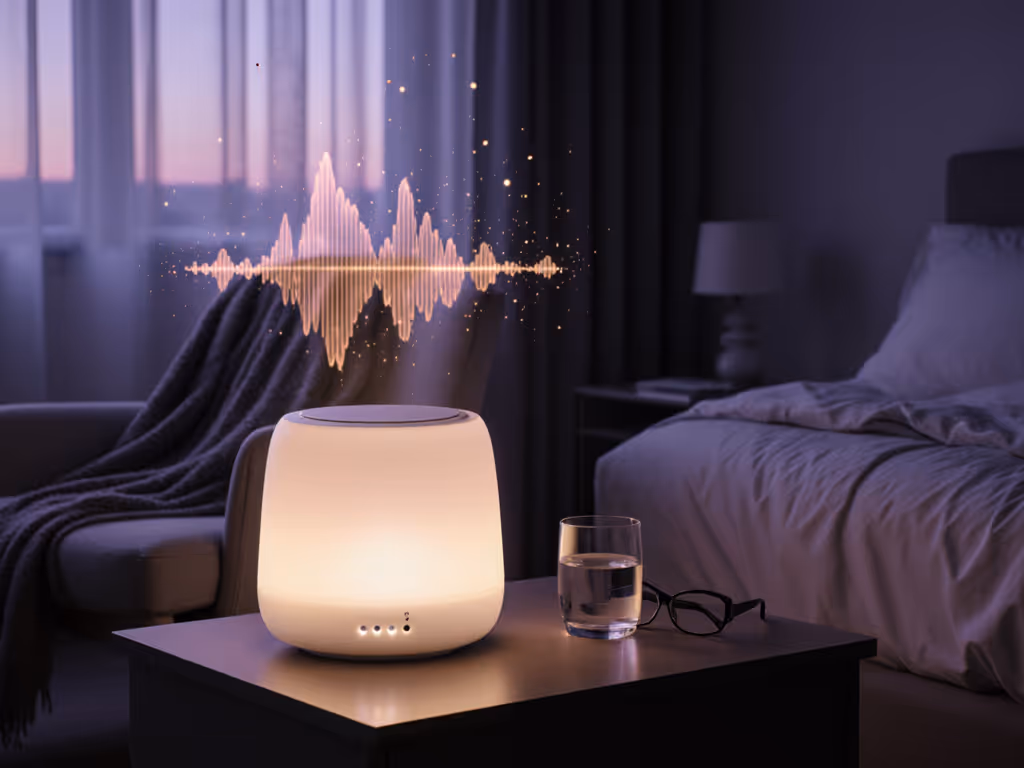
As a parent researching sound machine sleep solutions for your baby, you've likely encountered conflicting advice about safety and effectiveness. It's frustrating when you're trying to create a peaceful sleep environment but can't find clear guidance on using a white noise generator sleep aid safely. What's the right volume? How far should it be from baby? When should you introduce it? These questions matter deeply because your baby's hearing development is at stake, yet you also need practical solutions that work in real homes. Let me translate the lab data into simple, repeatable steps that put safety and consistency first.
Understanding Safe Sound Levels: The 50 dB Reality Check
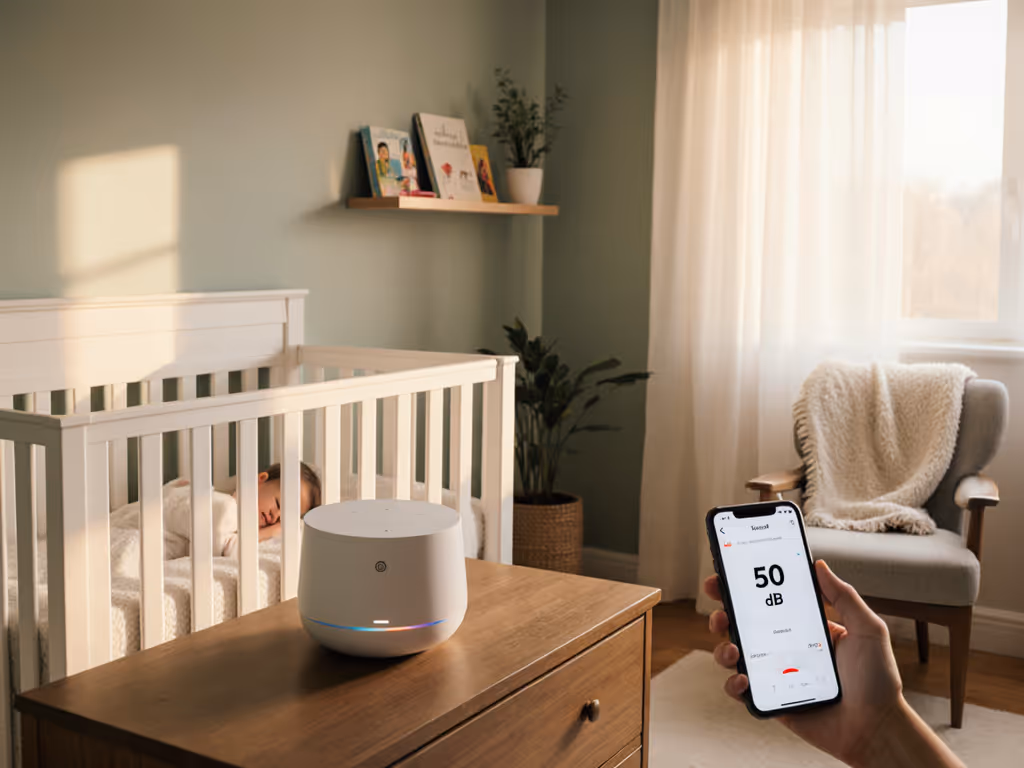
Many parents don't realize that the volume setting on your device isn't what matters (it's the actual decibels reaching your baby's ears). The American Academy of Pediatrics recommends keeping sound machines at 50 dB or less at the crib level. For a comprehensive checklist on placement, volume, and runtime, see our sound machine safety guidelines. What does 50 dB actually sound like?
- It's the volume of a quiet conversation
- Comparable to a refrigerator humming in the background
- Much quieter than city traffic (which reaches 70-80 dB)
To measure accurately:
- Place your phone (with a sound meter app like NIOSH's) in your baby's crib
- Play your sound machine at the intended setting
- Walk around the room to check for volume spikes
Consistency plus measured settings equals calmer nights for everyone.
Many parents make the mistake of setting the volume by ear from across the room, not realizing sound intensity doubles with every 10 dB increase. A setting that sounds "just right" from your armchair might be dangerously loud in the crib. If your machine doesn't have fine volume control (think: one-knob, one-job operation), start at the lowest setting and increase only if absolutely necessary.
Strategic Placement: The 7-Foot Safety Rule
Distance is your most powerful safety tool. The AAP's recommendation to place sound machines at least 7 feet from baby isn't arbitrary (it is based on how sound waves dissipate). In my work converting lab measurements to real nurseries, I've found this distance consistently brings volume into the safe range, even with devices set higher than ideal.
When placing your machine:
- Position it against an exterior wall (not facing directly into the crib)
- Avoid corners where sound can bounce and amplify
- Place it higher than the crib level (on a dresser works well)
In our shared room experience with my cousin's twins, we taped a simple checklist to the dresser reminding us of the 7-foot measurement. Seeing that visual cue every night prevented the "just a little closer" temptation that many parents experience when baby seems unsettled.

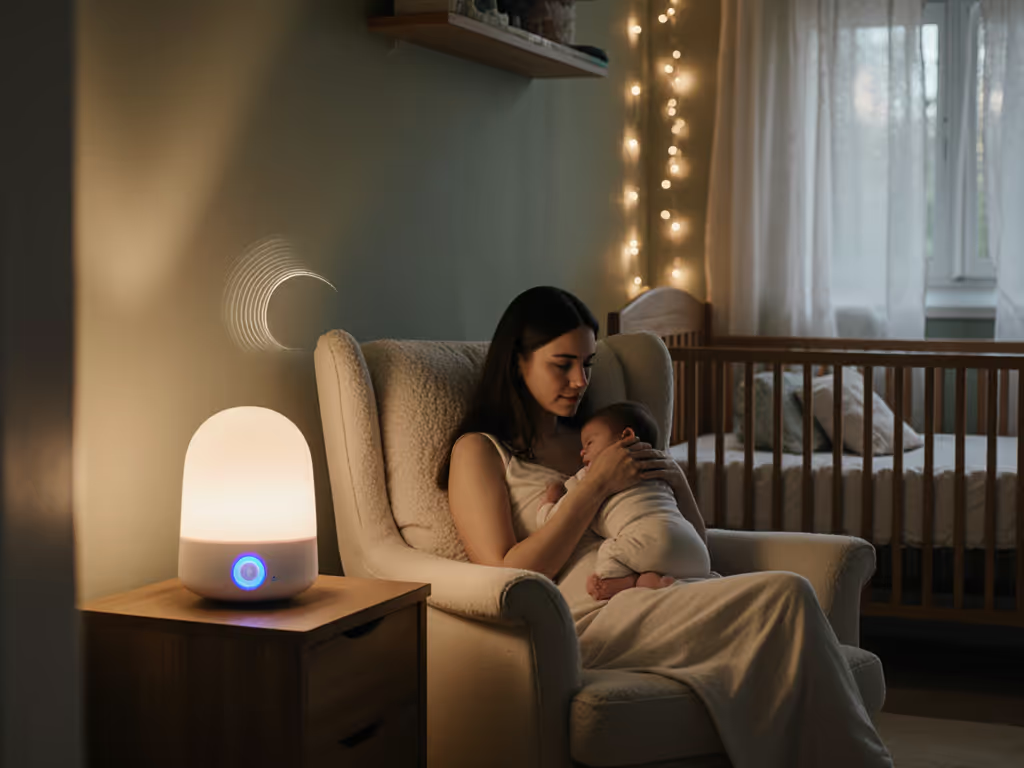
Creating a Repeatable Nightly Routine
The power of sound machines isn't in the technology (it is in the predictability). When explaining how to introduce white noise, I emphasize starting simple before baby arrives (if possible) or during early newborn days when their hearing is still developing.
First 2 weeks introduction plan:
- Day 1-3: Play sound machine at 45 dB during naps only (place phone in crib to verify)
- Day 4-7: Add 15 minutes of sound before bedtime routine
- Week 2: Introduce sound at the beginning of your full bedtime routine
Many parents ask about using sound machines with gentle sleep training approaches. The key is understanding that white noise should support, not drive, your process. When used correctly, it creates a consistent auditory environment that helps babies transition between sleep cycles without getting startled by household noises. It's never about "drowning out" cries (as some mistakenly try with cry it out methods using a sound machine), but rather creating a stable baseline that reduces sleep disruptions.
Remember: Set it once, repeat nightly. This isn't just a catchy phrase. It is the foundation of building trust in the sleep environment. Babies thrive on predictability, and your consistent settings become part of their neurological "this is safe" signal.
Building Your White Noise Schedule
A white noise schedule should mirror your baby's natural sleep rhythms, not run continuously all night. Here's a simple framework that works across different room setups:
- Naptime: 45 minutes of sound (long enough to cover the first sleep cycle)
- Bedtime: Start sound at beginning of routine, continue for 90-120 minutes
- Night wakings: Do NOT restart sound (helps prevent dependency)
For shared room setups (common with siblings or room-sharing parents), I recommend assigning different sound profiles to different sleepers. One might use pink noise (gentler on the ears), another brown noise (better for masking traffic), but both at the same 45-50 dB level. This creates distinct auditory boundaries that help light sleepers coexist.
Troubleshooting Real-World Challenges
Urban apartment with street noise? Rather than cranking the volume (which risks hearing damage), reposition the machine to face the noise source. Lower frequency sounds (like traffic) travel better through walls, so consider a machine with deeper tones that naturally blend with external noise rather than fight against it.
Traveling with inconsistent power? Prioritize devices with reliable memory settings that restart automatically after power loss. Skip the app-controlled options that require reconnecting every time you move rooms. Your simple, proven settings should work instantly in hotel rooms or grandparents' homes.
Worried about dependency? Signs your baby is becoming too reliant include extreme distress when sound stops before morning. If this happens, gradually reduce runtime by 15-minute increments (120 minutes to 105 to 90) over 2-3 weeks while keeping volume consistent.
Remember my experience with my cousin's twins: We didn't need fancy features or volume wars. Just consistent settings at safe levels, checked with our simple tape-measure method. That shared room success story taught me that repeatable routines trump high-tech solutions every time.
Your Actionable Next Step
Tonight, before baby's bedtime, take three simple measurements:
- Place your phone in the crib and measure current sound machine volume
- Verify the distance from machine to crib is at least 7 feet
- Set a timer for 90 minutes (or less for naps)
Then tape these numbers to your sound machine. You've created your personalized safety checklist, no apps, no guesswork, just peace of mind. Tomorrow night, you'll know exactly what settings work for your unique space. Consistency at safe volumes truly does beat novelty; those repeatable settings will calm your family's nights more effectively than any gadget ever could.
Set it once, repeat nightly. That's how you transform confusing advice into confident care.
Related Articles